Design
Great rotomoulded products begin with great design. Our unique process of low stress part formation relies on material flowing around the mould and that means design has to start well before the first mould is constructed. Knowledgeable designers can use the process to add strength, function and beauty. Rotomolding commonly uses computer aided design and a predictive test called finite element analysis to ensure parts are fit for purpose and will perform their function and last the stated life cycle. Want to know more about designing for rotational moulding? Check out our Designer’s Guide To Rotational Moulding By Glen Beall or buy one of our books on rotomoulding.
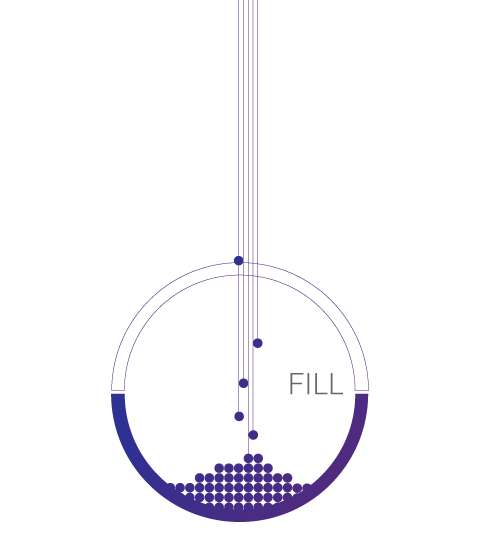
Fill
The first stage of the process is to place the material, ground into either a powder or granule form, into a hollow or shell like mould. Various materials are used in rotomoulding (sometimes even called rotacasting) and the type of material used will depend on the attributes required in the final part. Material can be chosen for strength, rigidity, flexibility, surface finish, chemical resistance or many other parameters. A good rotational moulder will be able to offer a range of materials to suit your product and help you to access high quality moulds that will produce the best possible product at the end of the process. You can find out more about the materials of rotomoulding here.
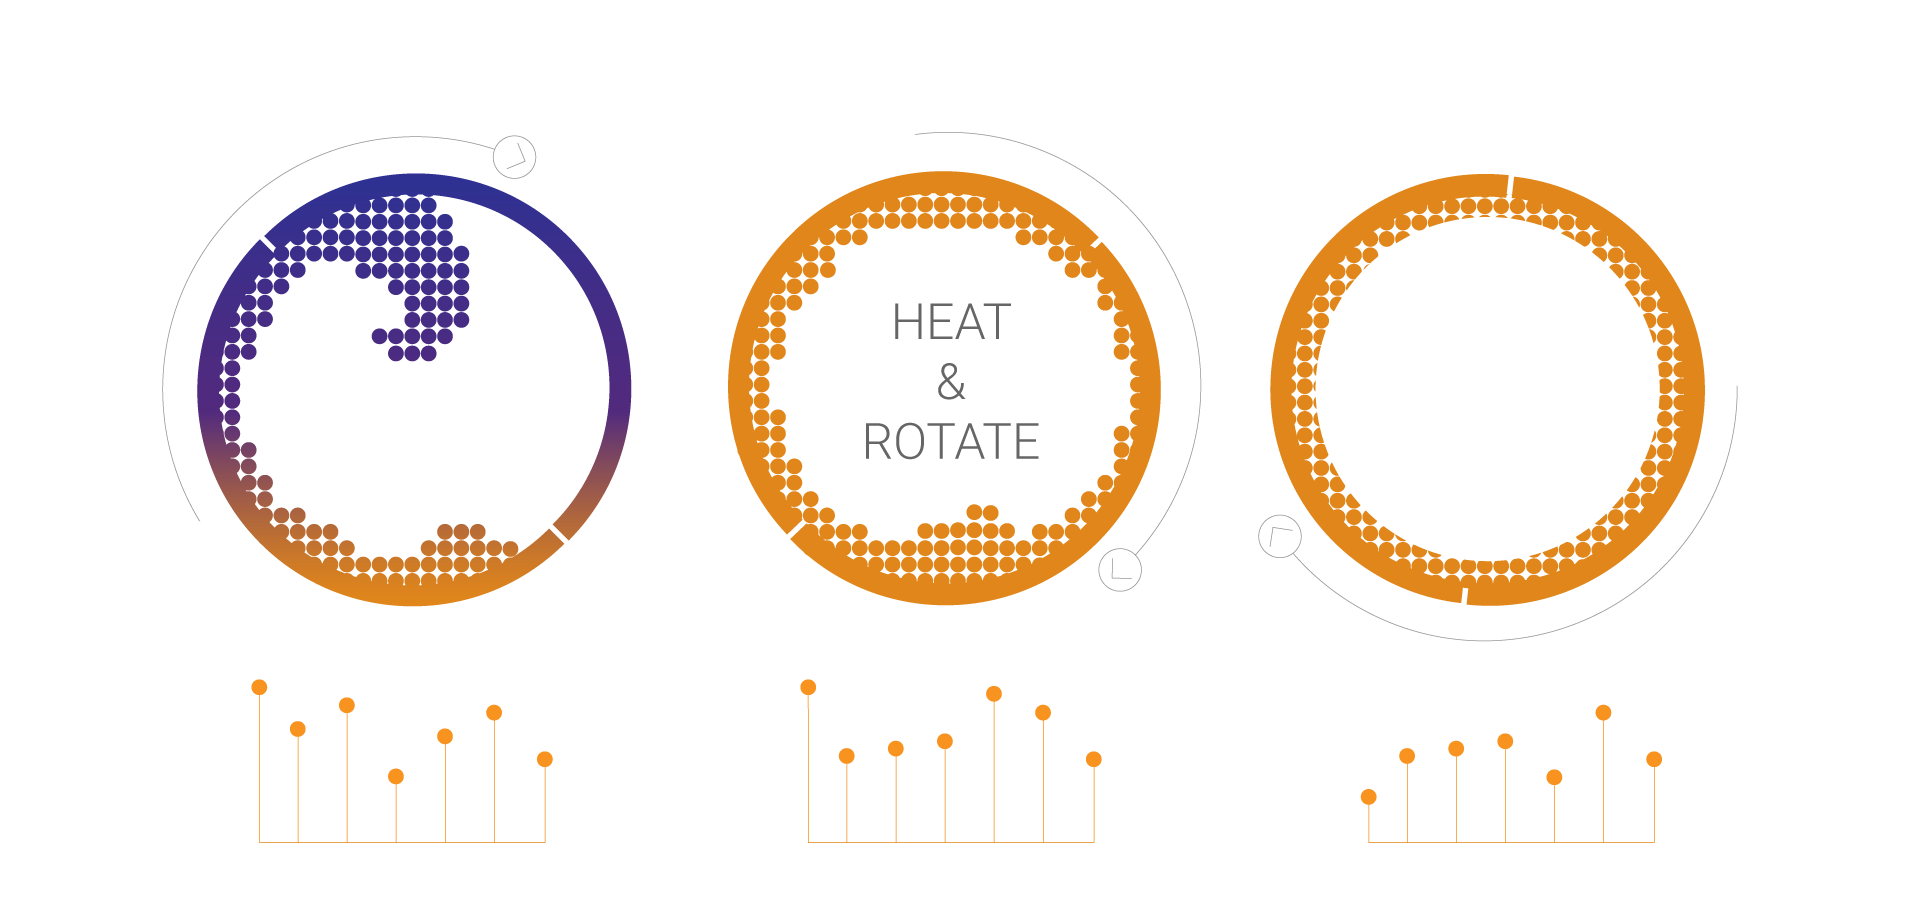
Heat & Rotate
Almost all rotational moulding uses heat to sinter (or partly melt) the material in the mould. This can be done in a range of ways using different machinery. Open flame, means the moulds are rotational over a flame open to the air, some machines include ovens that rotate the moulds inside and other machinery heats the moulds themselves. Room temperature vulcanising materials that don’t require any heat to create a part are also available but less common. Parts are rotated either on one or two axels during the process to cover the walls of the mould and create the part. These rotations can be programmed to ensure walls are thicker or thinner depending on the requirements for the end product. The material needs to be heated enough to allow any bubbles to pass through the walls and create a solid part. If you would like to know more about the machinery & moulds of rotomoulding follow this link.

Cool
The final stage of the process is to allow the part to come out of the mould and cool properly. Most plastic changes as it cools and controlling this part of the process can add even more strength or other features to the final product. Cooling can be achieved either by allowing ambient air to circulate around the mould, spraying the mould with water or very fine mist. Cooling for rotomoulding is a specialist area, if you’d like to more consider buying our ARMA Guide to Cooling.
Release
Once cooled to the optimum temperature in the mould, the rotomoulded parts are taken out of the mould. Most parts will continue to cool for some time after being removed from the mould and may require being placed on special frames to ensure their final parameters are exact. At this stage value adding usually takes place and could include simple trimming to the addition of various kinds of fixtures and fitting, graphics or decoration to produce the final part. If you are “hooked” and want to know more, check out the detailed pages on the site on the rotomoulding process.


